Advertisement
Git and GitHub for Complete Beginners: A Step-by-Step Guide
From your first commit to your first pull request, without the jargon
You've saved fifteen versions of the same project as project_v1, project_v2, and project_final_REAL. Git replaces that entire mess with one system that tracks every change automatically, lets you undo anything, and lets multiple people work on the same code without overwriting each other.
Git and GitHub Are Not the Same Thing
Git is the tool on your computer that tracks changes to your files. GitHub is a website that hosts a copy of your Git project online so you can back it up, share it, and collaborate. You can use Git without ever touching GitHub — plenty of developers do for private local projects.
Five Concepts Before You Type Anything
- Repository — a folder Git is tracking
- Commit — a saved snapshot with a message describing what changed, like a save point in a game
- Branch — a separate line of work that doesn't touch the main project until you merge it
- Push — sends your commits to GitHub
- Pull — downloads commits from GitHub that aren't on your computer yet
Step 1 — Set Up Your First Repository
- Create a free account at github.com
- Create a new repository from the website with a name and short description
- On your computer, install Git and run
git clone [repository URL] - Make a change to a file inside that folder
Step 2 — The Commands You'll Use Every Day
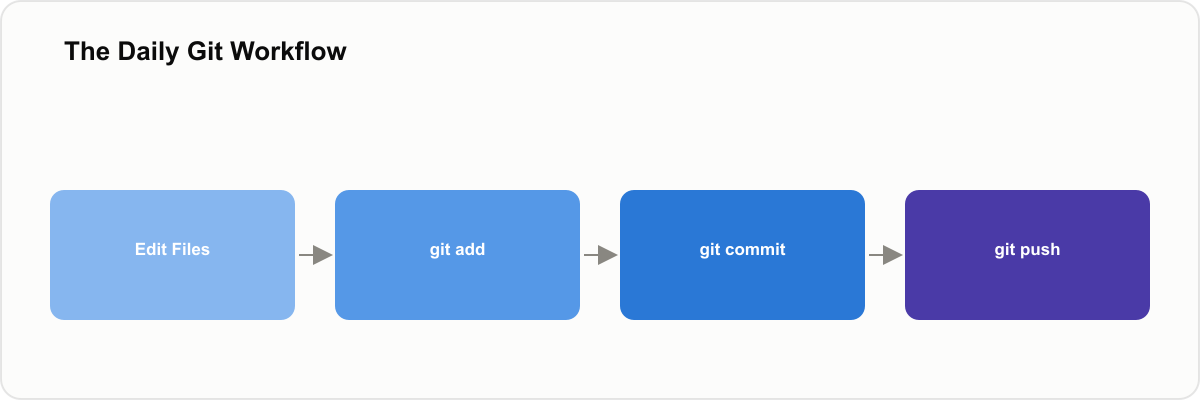
Ignore the 40-command cheat sheets. Day-to-day Git work comes down to five commands, run in this order:
git status— see what's changed since your last commitgit add .— stage the changed filesgit commit -m "describe what changed"— save a snapshotgit push— send it to GitHubgit pull— grab the latest changes before you start working, if you're on a team
Step 3 — Working with Branches
Once the basic loop feels natural, add branching so you can build features without risking the working version of your project:
git checkout -b feature-name— create and switch to a new branchgit checkout main— switch back to your main branch
Where Beginners Go Wrong
Vague commit messages
"fix stuff" is useless six months from now when you're hunting for when a bug was introduced. Write what changed and why.
Committing secrets
Once a password or API key is pushed, treat it as exposed — deleting it in a later commit doesn't remove it from the project's history. Use a .gitignore file to keep config files with secrets out of tracking entirely.
Working directly on the main branch
Tempting when you're the only one on a project, but the habit of using feature branches is one you'll want before you're on a team where skipping it actually causes damage.
A Few Things People Ask
Where to Go From Here
You don't need to memorize Git commands — you need the five-command loop above to become muscle memory and the habit of committing often with clear messages. Rebasing, cherry-picking, and resolving merge conflicts can wait until the day you actually need them.
Frequently Asked Questions
Advertisement
Was this article helpful?
Advertisement
Comments
No comments yet. Be the first to share your thoughts!
Related Posts

How to Learn Python in 30 Days — Complete Beginner Roadmap
A complete day-by-day roadmap to learn Python from scratch in 30 days. Free resources, projects, and tips to get job-ready fast.

Google Search Console — How to Add Your Website and Get Free Traffic
Step by step guide to adding your website to Google Search Console and using it to get free organic traffic from Google. Beginner friendly.

10 Best Free Websites to Learn Coding in 2026
Discover the 10 best free websites to learn coding in 2024. From HTML to Python to data science — all completely free with certificates.

SQL Basics: The Queries Every Beginner Should Actually Know
Ten queries that cover most of what you'll use day to day, with runnable examples
Ten SQL queries that cover most day-to-day database work, with runnable examples — SELECT, filtering, joins, aggregation, and the mistakes that trip up beginners.